

I like testing on my laptop, until the test becomes real. The moment you need a public IP, a clean Linux box, and a place to run deploy scripts, local testing starts to lie to you.
So I built a tiny secure public cloud environment for testing code that stays under $10 per month, and often costs $0. It’s not an enterprise blueprint. It’s a repeatable setup that keeps the internet out of my business.
The core idea is simple: start with the smallest Linux VM that can run your stack, lock down SSH, open only the ports you need, and add two basic protections so you’re not babysitting it. Then I automate teardown, because the most secure server is the one you already deleted.
Pick a cloud option that stays under $10 and still feels like “real” production
For basic app testing, you don’t need much. A single VM with 1 vCPU and 1 GB RAM handles simple Node or Python services fine. If you compile dependencies or run heavier test suites, 2 GB feels smoother.
The real budget killers are rarely the VM. They’re the extras you click without thinking:
- Backups and snapshots that quietly recur
- Extra block storage volumes you forget to delete
- Paid managed databases (great, but not for a cheap test box)
- Outbound bandwidth if your tests ship lots of artifacts
- Leaving the environment running all month “just in case”
As of early 2026, you can get predictable, real public cloud behavior under $10 with options like Oracle’s Always Free VMs, Google Cloud’s always-free e2-micro, AWS Lightsail at $3.50 per month, and the classic $5 to $6 VPS plans from DigitalOcean, Vultr, and Linode. Region matters too. Pick a US region close to you for lower latency, and stick to Ubuntu or Debian to keep cost and support simple.
If you want a broader scan of bargain providers and what you actually get for the money, this cheap VPS comparison roundup is a useful reference point.
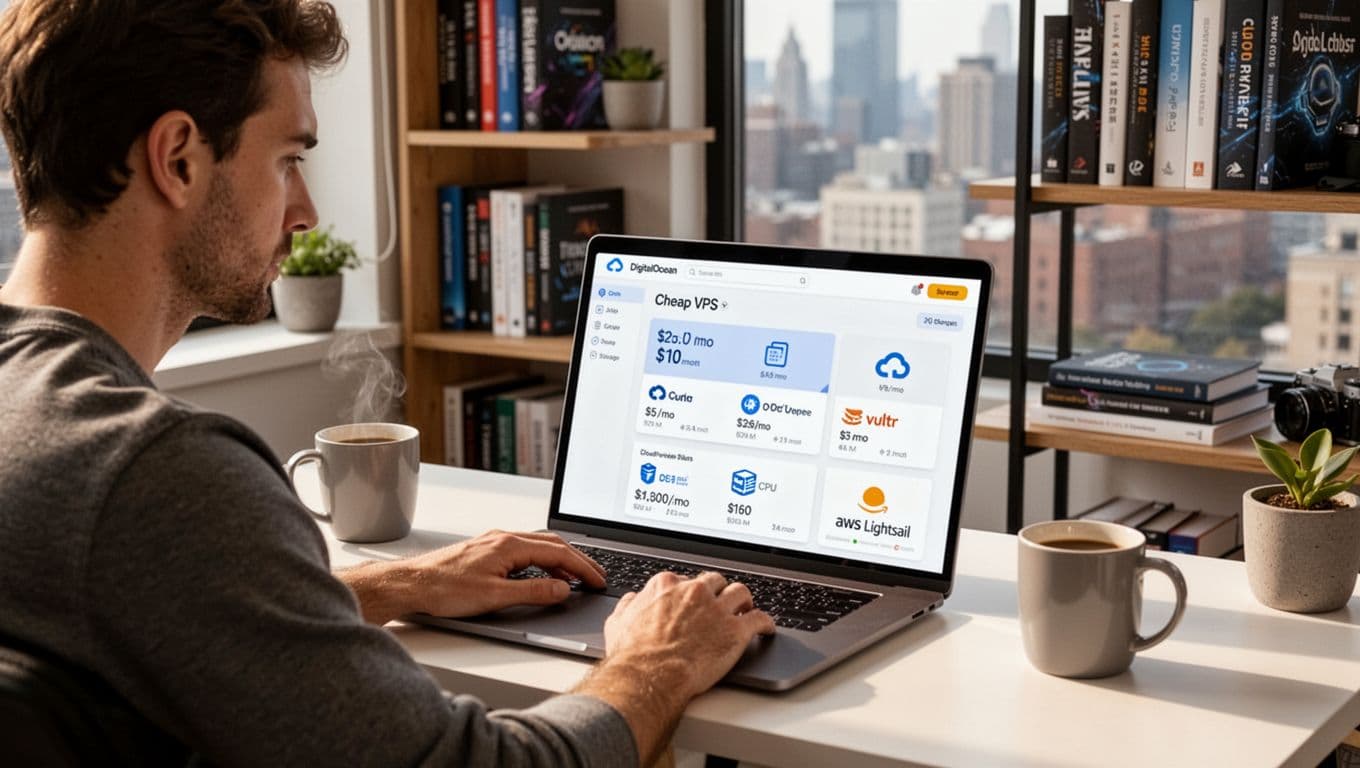 Comparing low-cost cloud instances for a small testing environment
My short list of low cost choices (and when I would use each)
I try to match the provider to the job, not the hype.
Oracle Always Free works when I want a long-term test box at $0 and can live with modest specs (for example, basic APIs, cron jobs, small queues). Google Cloud always-free e2-micro is great for tiny always-on services, although the shared CPU can feel slow during builds.
When I want a clean UI and predictable billing, AWS Lightsail ($3.50 per month) is easy to live with. If I need nicer tooling and quick spins for client-style demos, I’ll use DigitalOcean, Vultr, or Linode in the $5 to $6 range. For the cheapest paid “just give me a box” setup, OVHcloud or IONOS can land in the $2 to $3.50 range, but you’ll do more yourself. Hetzner is strong value, though I only pick it if the location works for the project.
One reminder: with an unmanaged VPS, you are the security team.
A simple budget rule so you do not accidentally go over $10
My rule is boring on purpose: one small instance, no paid add-ons, and a hard stop date.
I skip load balancers, I don’t attach extra volumes unless a test needs them, and I avoid managed databases at first. If I need Postgres or Redis for testing, I run it locally on the VM, then throw the VM away later.
Most importantly, I set a billing budget alert in the provider console, then I put a weekly 5-minute calendar reminder to check usage. It sounds silly, but it prevents the classic mistake: “I forgot that box existed.”
My secure setup checklist for a public test environment (fast, boring, and effective)
The internet scans new servers in minutes. If you expose SSH with password login, bots will hammer it all day. That’s why my first 15 minutes on a new VM are always the same: patch, lock down access, then tighten network exposure.
This baseline doesn’t make a server unbreakable. It does remove the easy wins attackers love. I also keep the setup “copy friendly” so I can repeat it without thinking.
A practical note: before you change access settings, make sure you have a second terminal session open. Also confirm you can log in with your new user before you disable anything.
Treat every test VM like it’s already being watched, because it probably is.
If you want a deeper walk-through of SSH hardening ideas beyond the basics, this Ubuntu SSH hardening guide lines up well with the same mindset.
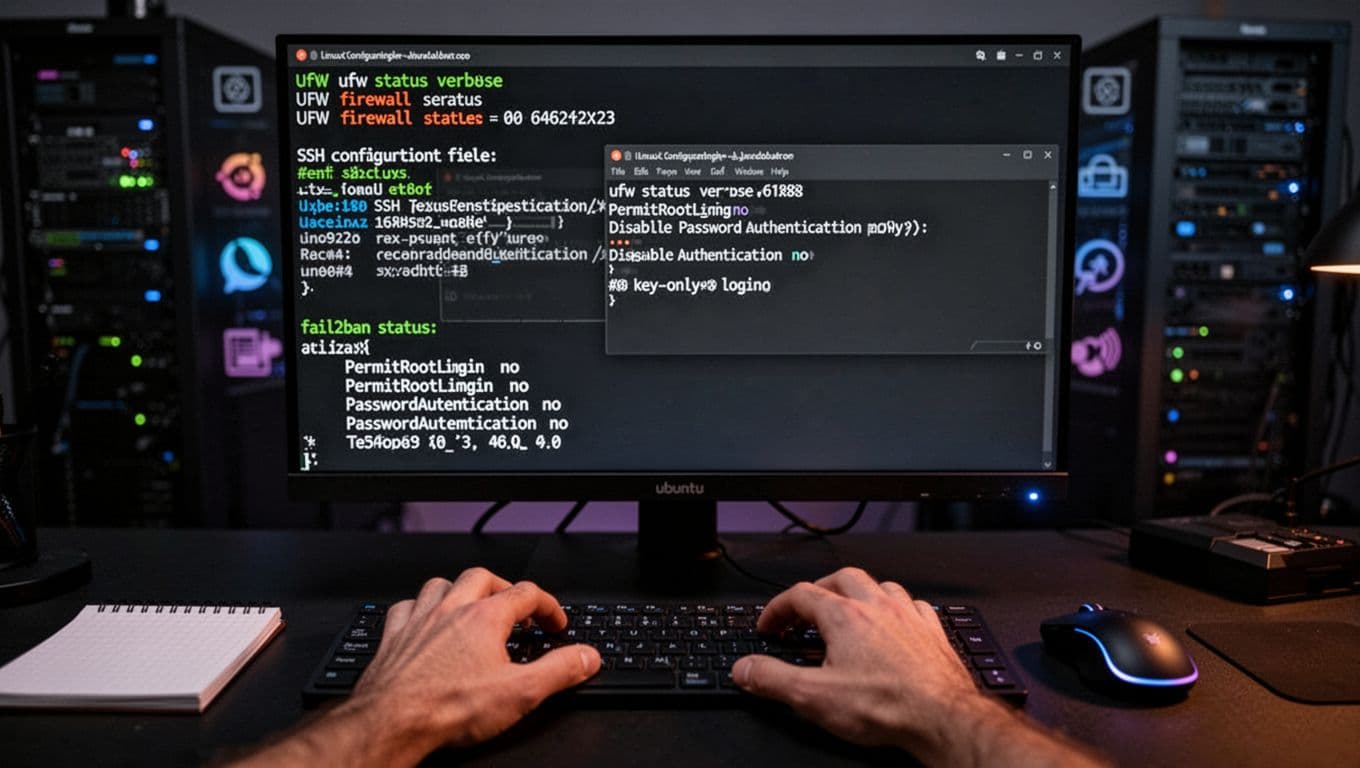 What a basic security hardening session looks like on a new Ubuntu VM
Lock down access first: no root logins, SSH keys only, and the smallest open port list
I start by updating packages right away. Old images ship with old bugs, and public boxes get targeted fast.
Next, I create a non-root user and grant sudo access. After that, I switch to SSH key authentication and disable password login. Passwords are convenient, but they’re also the easiest thing to brute force. Keys aren’t magic, yet they raise the bar a lot.
Then I tighten inbound traffic with a firewall (UFW on Ubuntu works well). My default allow list is short:
- SSH only (port 22), ideally restricted to my IP if possible
- HTTP/HTTPS (80/443) only when I’m actually testing a web app
Many tests don’t need public web ports at all. In that case, I keep everything private and use SSH tunneling to reach a local service safely. It feels like running the app on localhost, except it’s on a real VM.
If I do expose a web app, I add HTTPS. Let’s Encrypt is the usual choice, and it protects logins, cookies, and API tokens from getting sniffed on public Wi-Fi.
Add two “set and forget” protections: automatic updates and fail2ban
After access is tight, I add two boring helpers.
First is unattended upgrades. It auto-installs security patches so I’m not relying on memory. Second is fail2ban, which watches login logs and blocks IPs that keep failing authentication.
Neither costs extra. Both are standard packages on Ubuntu and Debian. Still, they only help if you keep the server healthy. When a kernel update lands, I reboot sooner rather than later. I also verify SSH access after any change that touches authentication or firewall rules.
How I keep it cheap over time: safe deploys, clean teardown, and no surprise bills
Cost control is mostly habit. Security is too.
For deploys, I keep it simple: pull from a Git repo, inject config through environment variables, and run only the services I need. Test environments get messy fast, so I try to avoid “pet servers” that live forever.
Monitoring stays basic. Provider graphs for CPU, memory, and network usually tell me enough. On the VM, I rely on system logs and auth logs. If something spikes, I look before I pay for tooling.
When I need a reference for the broader setup flow (especially if I’m teaching someone else), I point them at this 2026 VPS setup guide and then I layer my lock-down steps on top.
A simple “build, test, destroy” workflow that fits most side projects
My loop is lightweight:
- Create the smallest Linux VM in a nearby region.
- Run my baseline hardening steps (user, keys, firewall, updates).
- Deploy a test branch and run the checks I care about.
- Collect logs or artifacts I need for debugging.
- Delete the VM when I’m done.
If I need to repeat tomorrow, I re-create it. If I truly need a checkpoint, I take one snapshot, then I delete it after the next successful run.
The most common cost and security mistakes (and how to avoid them)
Most problems come from the same few mistakes: opening database ports to the world, leaving password SSH enabled, storing secrets in the repo, forgetting to delete snapshots and volumes, and running a larger instance than the work needs.
The fixes are simple too. Open only 22, 80, and 443 when needed. Use SSH keys. Keep secrets in env vars, not code. Set billing alerts. Most importantly, schedule cleanup so the VM doesn’t become a forgotten porch light.
Conclusion
A secure public cloud test environment under $10 per month is completely realistic in 2026. Start with a tiny Linux VM (or a free tier), keep specs small, then apply the security baseline right away: updates, a non-root user, SSH keys only, a tight firewall, fail2ban, and automatic security patches.
After that, staying cheap and safe comes down to one habit: make your test servers temporary. When the work is done, delete the box, delete the extras, and move on.
Pick one provider today, spin up the smallest VM, and complete the access hardening before you deploy any code. Your future self will thank you for the boring security.