London can drain your wallet fast, but it doesn’t have to. The easiest win is pay-as-you-go travel with an Oyster Card or a contactless bank card, because daily caps limit what you’ll pay for rides in a single day.
The Tower of London is a paid attraction, so the goal is to save on everything around it, like timing, tickets, food, and how you get there. With a little planning, you can keep transport predictable and avoid expensive “oops” moments at the gates.
In this guide, you’ll learn how Oyster (and contactless) really works, how much credit to load for a Zone 1 to 2 day, the simplest ways to reach Tower Hill, and a practical half-day Tower plan that reduces lines and wasted time.
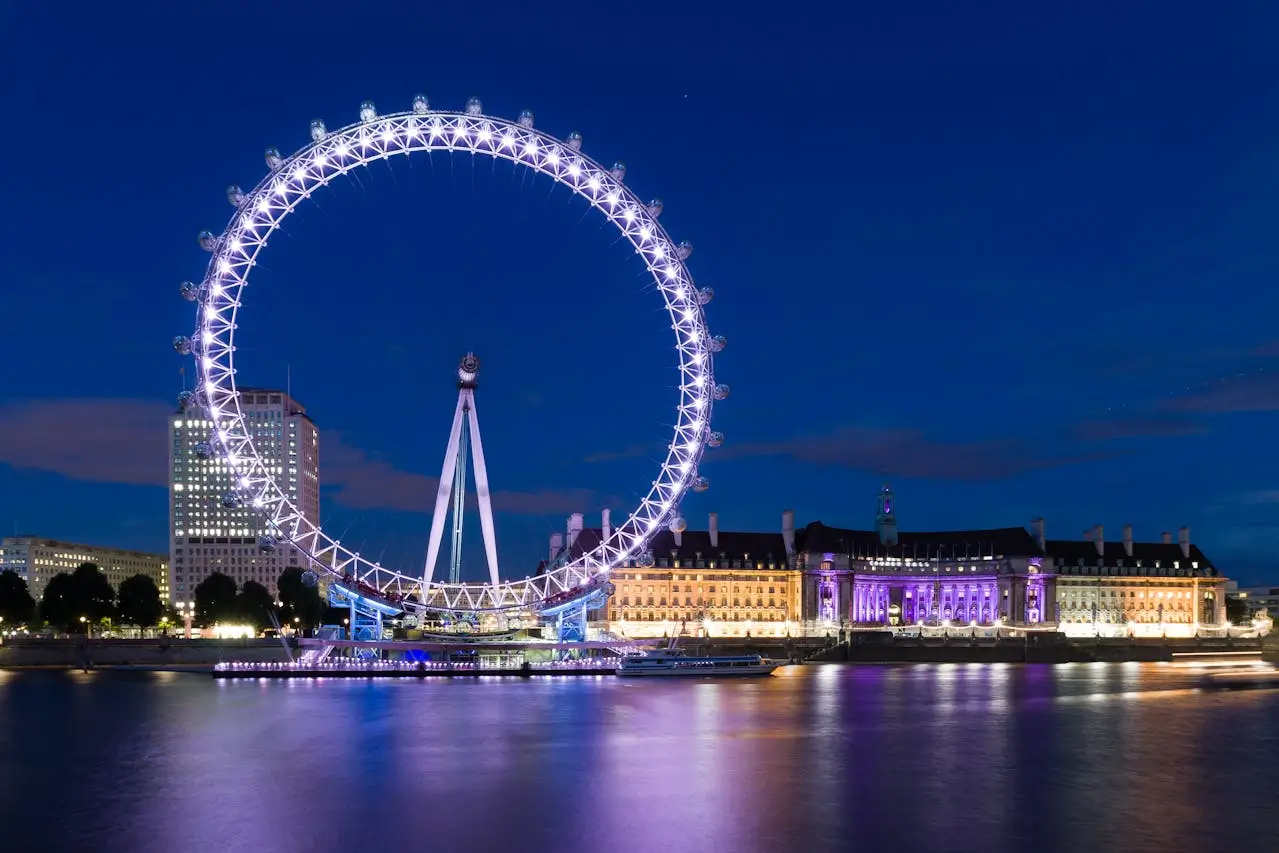
Oyster Card basics that save you money right away
 An Oyster Card tap at a Tube gate, created with AI.
If you’ve ever overpaid for transit in a new city, London has a fix for that. Oyster and contactless both use pay-as-you-go fares, which are usually cheaper than paper tickets. Even better, daily caps mean you stop paying once you hit the day’s limit for the zones you travel in.
For most visitors, the “budget” approach is simple: pick Oyster or contactless, stick mostly to central zones, and don’t miss taps. You can buy and top up Oyster at many Tube stations and ticket machines. After that, your card works across the Underground and most city services that accept pay-as-you-go.
A smart top-up amount depends on your plan. If you’re sightseeing in central London (Zones 1 to 2) for a day, loading about £10 to £15 is a safe starting point for most people, because the Zone 1 to 2 daily cap is £8.90 as of March 2026. Add more if you’ll travel farther out, or if you’re staying multiple days and want fewer top-ups.
For official guidance on where pay-as-you-go works and how caps apply, check TfL’s page on pay as you go with an Oyster card.
Quick money rule: caps reward “a few rides” days, while walking rewards “many sights close together” days.
Visitor Oyster, standard Oyster, or contactless, which one should you use?
Each option can be cheap, but the best choice depends on how you pay and how long you’re in London:
- Contactless (card or phone): No card to buy, same pay-as-you-go fares and caps, easiest for many US travelers. Use one card per person, because caps track per card.
- Standard Oyster: A physical card you top up. There can be an upfront card cost depending on current policy and where you buy it, but it’s handy if you prefer not to use your bank card for transit.
- Visitor Oyster: A tourist-focused Oyster version often sold with an upfront purchase fee and sometimes bundled discounts. It can be worth it if you’ll actually use the included offers (for example, certain river services), otherwise contactless can come out cheaper.
How tapping and fare caps work (so you do not get hit with max fare)
Tapping is where people lose money. Do it right and the system quietly protects your budget.
On the Tube and rail services that use gates or readers, tap in and tap out. On buses and trams, tap once when you board. London buses also have the Hopper fare: adult bus and tram rides cost £1.75, and you can take unlimited bus and tram rides within one hour for that same £1.75.
Here are March 2026 examples for Zones 1 to 2 travel with Oyster or contactless:
- Tube single fare (peak): £3.60
- Tube single fare (off-peak): £3.10
- Zones 1 to 2 daily cap: £8.90
If you forget to tap out on the Tube, the system may charge a maximum fare for that journey. If that happens, you can often correct it later, but it’s a hassle. The cheapest move is still the simplest: pause at the gate and tap out every time, even when you’re tired.
Off-peak trips can also help, especially if your day is flexible. Peak times are Monday to Friday, 6:30 to 9:30 AM and 4 to 7 PM.
Getting to the Tower of London with Oyster, the simplest routes and the cheapest habits
The Tower of London sits in central London (Zone 1), which is great news for budgets. Zone 1 trips usually cost less than trips that cross multiple zones, and the Zone 1 to 2 cap keeps a busy sightseeing day from spiraling.
Your main target is Tower Hill station, because it’s the classic stop and keeps things straightforward. Still, don’t obsess over one station if it adds extra transfers. In London, the cheapest route is often the one that avoids backtracking and keeps you calm.
If you’re staying near a central station, walking can beat any fare. A longer walk might feel like “extra time,” but it can also be your free London highlight reel: bridges, street scenes, and the Thames.
For a quick overview of nearby stops and common approaches, this Tower of London directions guide can help you compare options before you open your maps app.
Best stations to aim for and an easy, low stress arrival
Tower Hill is the usual pick. From there, you’ll walk a short distance to the entrance area. Depending on where you start, you might also see routes that point you toward London Bridge or the Monument area. Those can be fine, especially if your hotel is nearby, but keep your decision simple:
Choose the route with fewer transfers, and avoid riding past the Tower only to double back.
Once you arrive, you can cluster sights without extra taps. Tower Bridge is nearby, and the Thames path gives you a free, scenic way to keep moving.
One small planning trick that saves a lot: group your day around one area
Daily caps help, but walking helps more. A budget-friendly pattern looks like this: take the Tube to the Tower early, then spend the rest of the day on foot along the river instead of bouncing across the city.
Food is the other trap. The Tower is a major attraction, so nearby options can be pricey. You’ll save a surprising amount if you bring snacks, refill a water bottle, and plan a simple meal outside the attraction rather than inside.
A budget smart Tower of London plan: tickets, timing, and what to prioritize inside
 The Tower of London beside the Thames, created with AI.
The Tower is worth it, but it’s not a “walk in for a bargain” stop. As of March 2026, the adult ticket price is £37.00 (ages 18 to 64, without donation). Since you can’t cap that cost like transit, you save money by avoiding timing mistakes, long lines, and impulse buys.
Start with the official source for prices and ticket rules. The Tower’s page for Tower of London tickets and prices is the best place to confirm your date, times, and what’s included.
Spring hours (March 2026) are typically 9:00 AM to 5:30 PM Tuesday to Saturday, and 10:00 AM to 5:30 PM Sunday to Monday. Last admission is 4:30 PM. Plans can change, so confirm close to your visit.
How to pay less for entry and avoid the worst crowds
Book online in advance when you can. Besides cost, the bigger savings are time and certainty, especially during weekends and school breaks.
For crowds, Tuesday to Thursday mornings tend to feel calmer than weekends. Arriving near opening makes a big difference, because the first hour usually has shorter queues inside. If you can choose your month, shoulder seasons can feel easier. For a lower total trip cost, many travelers also find late fall and early winter (outside holiday peaks) friendlier on the wallet.
As of March 2026, there were no specific closure notices found in the available public info. Still, check the official site before you go, because temporary closures can pop up for events or maintenance.
What to see first so you do not waste your ticket time
Think of the Tower like a popular museum with a fortress wrapped around it. The “best value” comes from seeing the biggest ticket items before the lines grow.
A simple order that works for most visitors:
- Crown Jewels first, because queues build quickly.
- Yeoman Warder (Beefeater) tour next, since it’s included and adds context fast.
- White Tower and key exhibits after that.
- Walls and viewpoints for photos and a breather.
- Ravens and smaller displays to finish at a slower pace.
Plan for 2 to 3 hours inside. If you want photos with fewer strangers in frame, shoot early, before mid-day crowds fill the courtyards.
Conclusion
London on a budget comes down to a few repeatable habits. Use Oyster or contactless so your rides are capped, tap in and out every time, and keep your sightseeing mostly in central zones when you can. Then treat the Tower of London like your main paid anchor: book ahead, arrive early, and follow a quick “Crown Jewels first” plan so you’re not stuck in lines. Pick your payment option today, top up enough for a Zone 1 to 2 day, and build a walking loop around the Tower area to stretch your budget even further.