Traveling alone, hiking solo, or just out with no one to ask? You can still take great photos of yourself without a tripod. The trick is simple: build a stable “prop” from everyday stuff, lock focus so the camera doesn’t drift, then use a timer or remote so you’re not rushing.
These tips work for phones and cameras, and they don’t require fancy gear. You’ll spend more time enjoying the moment and less time balancing your phone against a mystery rock.
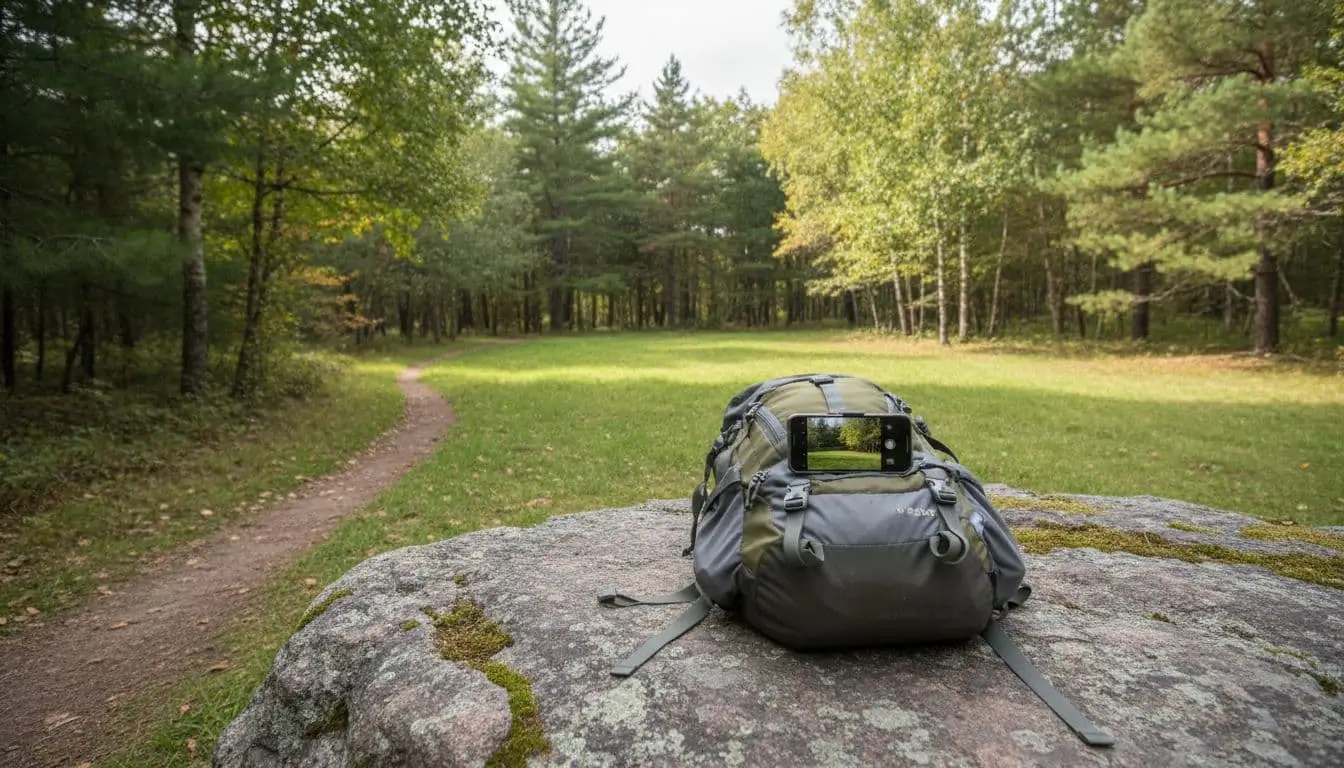
Build a stable “no-tripod” setup in 2 minutes
A tripod’s job is boring but important: keep the camera still and pointed where you want. You can copy that in almost any place by thinking in layers. First, pick a solid base (bench, rock, railing). Next, add a “cradle” (backpack or folded jacket). Then, create a small tilt (wallet or phone case) until the angle looks right.
If the setup can survive a gentle tap, it’s stable enough for a timer shot.
Use what you already have as a tripod replacement
A backpack, water bottle, jacket, rock, park bench, railing, or even a tree fork can work. To stop sliding, wedge a shoe, tuck a strap under the phone, or brace with a small stone. Avoid ledges, waves, traffic, and any spot where a drop would be expensive.
Lock focus and framing so your camera does not “hunt”
On phones, tap your face area, then press and hold to lock focus and exposure (often shown as AE/AF Lock). On a camera, place an object where you’ll stand, focus on it, then switch to manual focus or use focus lock. Leave a little extra space around you so you can crop later.
Get the shot hands-free with timers, remotes, and bursts
A hands-free trigger keeps your framing steady and your expression relaxed. Start with your timer, then add bursts for better odds without taking 200 random shots.
Pick the right timer length and take short bursts
Use 3 seconds when you’re already in position, and 10 seconds when you need to walk in. If your phone offers timer plus burst or Live Photo style capture, use it to grab tiny changes in posture and smile. Review every few tries and adjust angle or height, not just volume. For more self-timer ideas, skim these self-timer photo tricks.
Simple remote options that do not need a tripod
Bluetooth shutter remotes are cheap and pocket-sized. Some phones also let wired earbuds or a smartwatch trigger the shutter, and many support voice commands. After you click, hide the remote in your palm or slip it into a pocket.
Make your solo photos look natural, not staged
Better angles and light that flatter fast
Try a slightly low angle for a stronger look, or a slightly high angle for softer features. Frame yourself off-center using the rule of thirds. For light, face open shade (like the edge of a building or trees). If the sun is harsh, turn so it hits your hair, not your eyes. Near sunset, golden hour light is forgiving. In dim spots, a small pocket light or your phone screen can add soft fill.
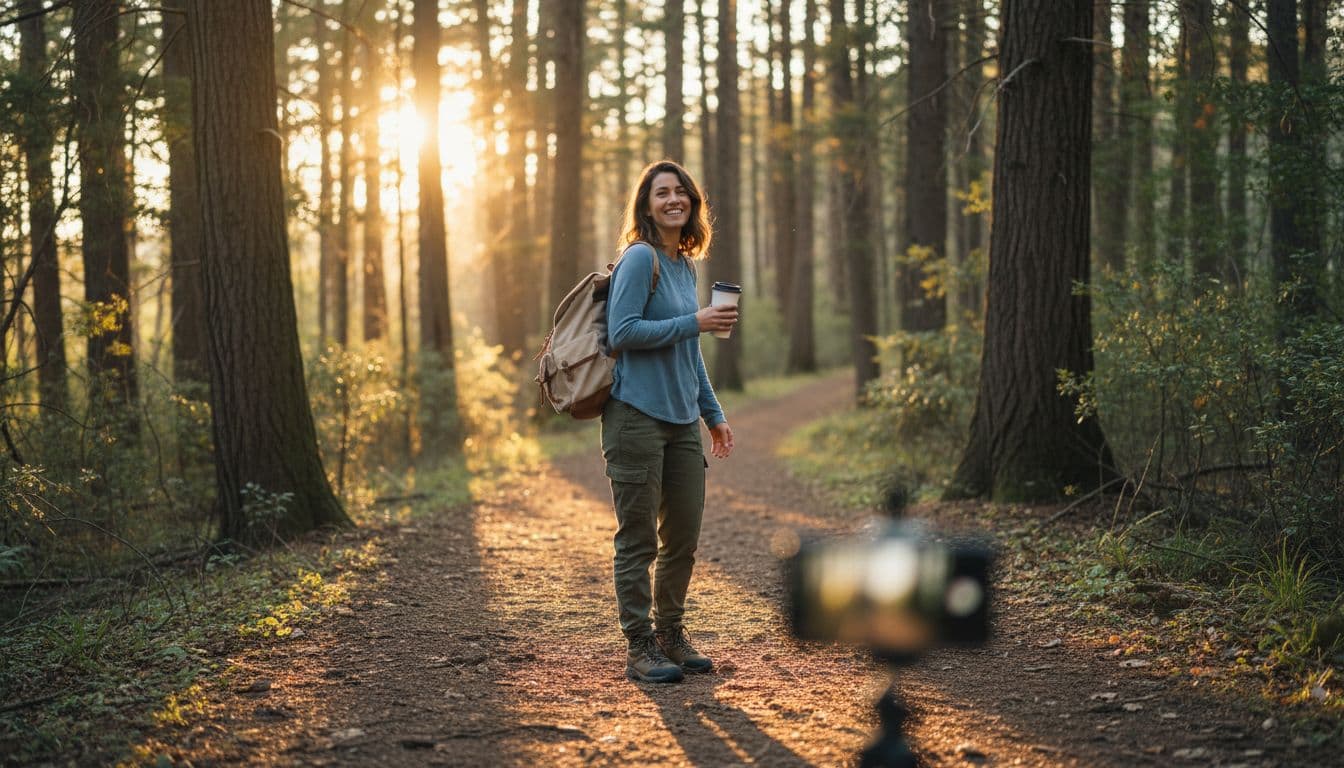
Poses that feel real when you are alone
Give yourself something to do. Walk toward the camera, look away then back, adjust your jacket, hold a coffee, tie a shoe, or sit and lean forward. Place a “mark” (leaf or pebble) where you’ll stand so focus stays consistent.
Quick wrap-up
Solo photography is mostly a repeatable routine: stable prop, locked focus, timer or remote, quick test shot, then a small angle tweak. Add good light and one simple action pose, and your photos look like someone else took them. Practice in one spot for 10 minutes, save your best setup, and reuse it when you’re out again. Your next solo photo will feel easy.
Read more: Hostel Dorm vs. Private Room: Which Is Better for Meeting People